How to Improve Video Quality Like a Pro
Learn how to improve video quality with practical tips on lighting, audio, and post-production. Turn your raw footage into polished, professional video.
Want to create videos that actually look and sound professional? It all boils down to a simple, repeatable process: nailing your camera setup, getting clean audio, making smart edits in post-production, and exporting with the right settings.
Get these four things right, and you're golden.
Why Better Video Quality Isn't Just a "Nice-to-Have" Anymore
Let's be real—we're all swimming in a sea of content. If your video is grainy, shaky, or has terrible audio, people will just scroll right past it. High-quality video isn't just for big-budget studios anymore; it's essential for anyone trying to build an audience on TikTok or sell products on Shopify.
Crisp visuals and clear sound aren't just details; they're what make people trust your brand and decide to stick around. This guide is your roadmap to getting those fundamentals right, every single time.
The 4 Pillars of a High-Quality Video Workflow
Every great video, from a quick social clip to a detailed product demo, follows the same fundamental path. It’s not about magic; it's about method. This flow chart breaks down the four core stages you need to master.
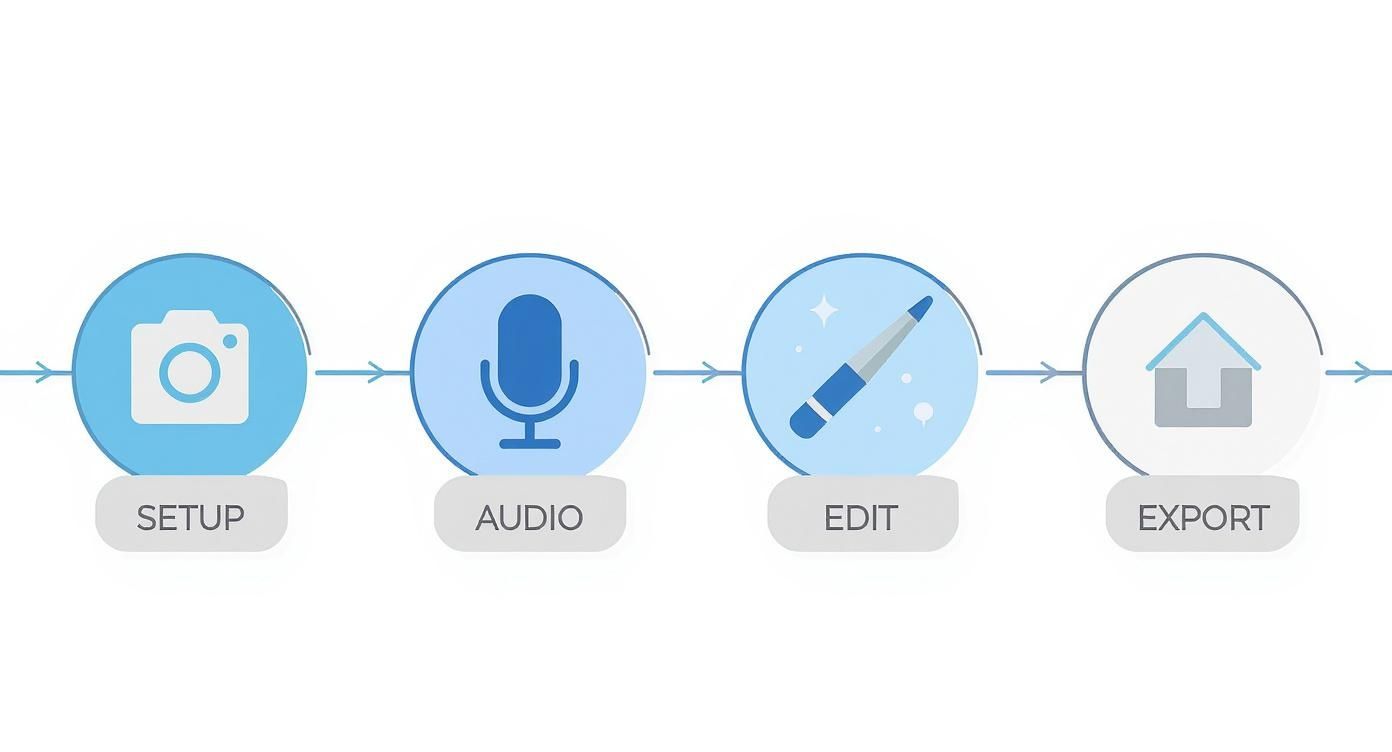
Think of these as the legs of a table. If one is weak, the whole thing comes crashing down. Mastering these four pillars is how you consistently create content that looks polished and keeps viewers engaged.
The Audience Expects More, and the Market is Responding
The shift toward high-definition video isn't just a fleeting trend. It's a fundamental change in what audiences expect to see on their screens. As people get used to seeing ultra-clear content everywhere, the demand for tools and techniques to improve video quality has exploded.
The global Video Quality Enhancement market was valued at USD 3.42 billion and is expected to grow at a compound annual rate of 15.2% through 2033. This surge is directly tied to consumer demand for HD content and big leaps in AI-driven enhancement tools.
This isn't just an abstract statistic; it's proof that quality is no longer optional. With the market projected to hit an estimated USD 13.33 billion, it's clear that investing in better video is a smart move. You can dig deeper into the data and explore more insights about this growing market.
Laying the Groundwork: Get It Right Before You Record
Here's a secret that seasoned pros live by: the most significant gains in video quality happen before you even think about hitting that record button. Post-production software is powerful, but it’s not magic. Trying to fix bad lighting or shaky footage in the edit is an uphill, time-consuming battle.
Your pre-production work—thinking through lighting, dialing in your camera settings, and framing your shot—is the foundation. A solid foundation means a smoother edit and a far more professional final product.
Light is Everything
Lighting is the single most powerful tool you have. It’s what separates a flat, uninspired video from something that feels dynamic and three-dimensional. You don’t need a massive budget; you just need to understand how to shape light.
The classic three-point lighting setup is an industry staple for a good reason. It sculpts your subject, eliminates ugly shadows, and helps them stand out.
- Key Light: This is your workhorse, the main and brightest light. Place it off to one side of the camera, aimed at your subject.
- Fill Light: Positioned on the opposite side, this is a softer light that "fills in" the shadows cast by your key light. It makes the lighting feel less harsh and more natural.
- Backlight: Sometimes called a hair light, this goes behind your subject. It creates a subtle rim of light that cleanly separates them from the background, adding a fantastic sense of depth.
Don't have three lights? No problem. Use one strong light as your key, then grab a cheap white foam board or a reflector to bounce that light back onto your subject. This acts as a perfect fill. Even a large window can serve as a beautiful, soft key light.
Take Control: Why Manual Settings Matter
Relying on "auto" mode is a gamble. Your camera will constantly adjust to changing conditions, leading to distracting shifts in brightness and focus. Taking manual control is how you achieve a consistent, intentional look. The first step is to master the exposure triangle.
- Aperture (f-stop): This is the opening in your lens. A low f-stop number (like f/1.8) creates a wide opening, letting in lots of light and giving you that beautiful, blurry background (bokeh). A higher f-stop (like f/11) does the opposite, keeping more of the frame in sharp focus.
- Shutter Speed: This is how long your camera's sensor is exposed to light for each frame. The golden rule for natural-looking motion is to set your shutter speed to double your frame rate. So, if you're shooting at 24 frames per second (fps), aim for a 1/50 shutter speed.
- ISO: Think of ISO as a digital brightness boost. You want to keep this as low as you possibly can—ideally 100-400. Pushing the ISO too high introduces digital noise (grain), which makes your video look cheap and muddy. Only raise it as a last resort when you can't add more light.
Getting comfortable with these three settings is a game-changer. It’s the bridge between simply pointing a camera and truly crafting a scene with intention and style.
Choosing Your Resolution and Frame Rate
Always, always shoot in the highest resolution your camera offers—for most, that’s 4K. Why? Even if your final video will only be 1080p, that extra 4K data gives you incredible power in the edit. You can crop in, reframe a shot, or even create a smooth digital zoom, all without losing any noticeable quality.
Frame rate, on the other hand, is a creative choice that dictates the "feel" of your video.
- 24 fps: This is the gold standard for that classic, cinematic look you see in movies.
- 30 fps: Very common for online content, vlogs, and live events. It looks clean and smooth, closer to what the human eye sees.
- 60 fps or 120 fps: This is your go-to for slow motion. By recording at a high frame rate, you can slow the footage down in your editor to create incredibly dramatic and buttery-smooth sequences.
Finally, a simple tip that will instantly boost your production value: use a tripod. It’s the easiest and cheapest way to eliminate the shaky, amateurish look that plagues so many videos. A stable shot looks planned and professional.
Nailing Your Audio: The Unsung Hero of Great Video
Here’s a hard truth most creators learn the hard way: your audience will forgive a slightly soft focus, but they will click away instantly if the audio is bad. Terrible sound is distracting, unprofessional, and a guaranteed way to lose viewers. Honestly, investing in good audio is probably the single biggest upgrade you can make to your video quality.
Your camera's built-in microphone is, to put it bluntly, not up to the task. It's an afterthought, designed to capture something, not something good. It picks up every echo, every piece of clothing rustle, and all the ambient noise you don't even notice, making your voice sound like it's coming from the bottom of a well. An external microphone isn't a "nice-to-have"—it's essential.

Choosing the Right Microphone for the Job
Not all mics are created equal, and grabbing the wrong one for your specific situation can be just as bad as using the built-in one. Think about what you’re actually shooting.
-
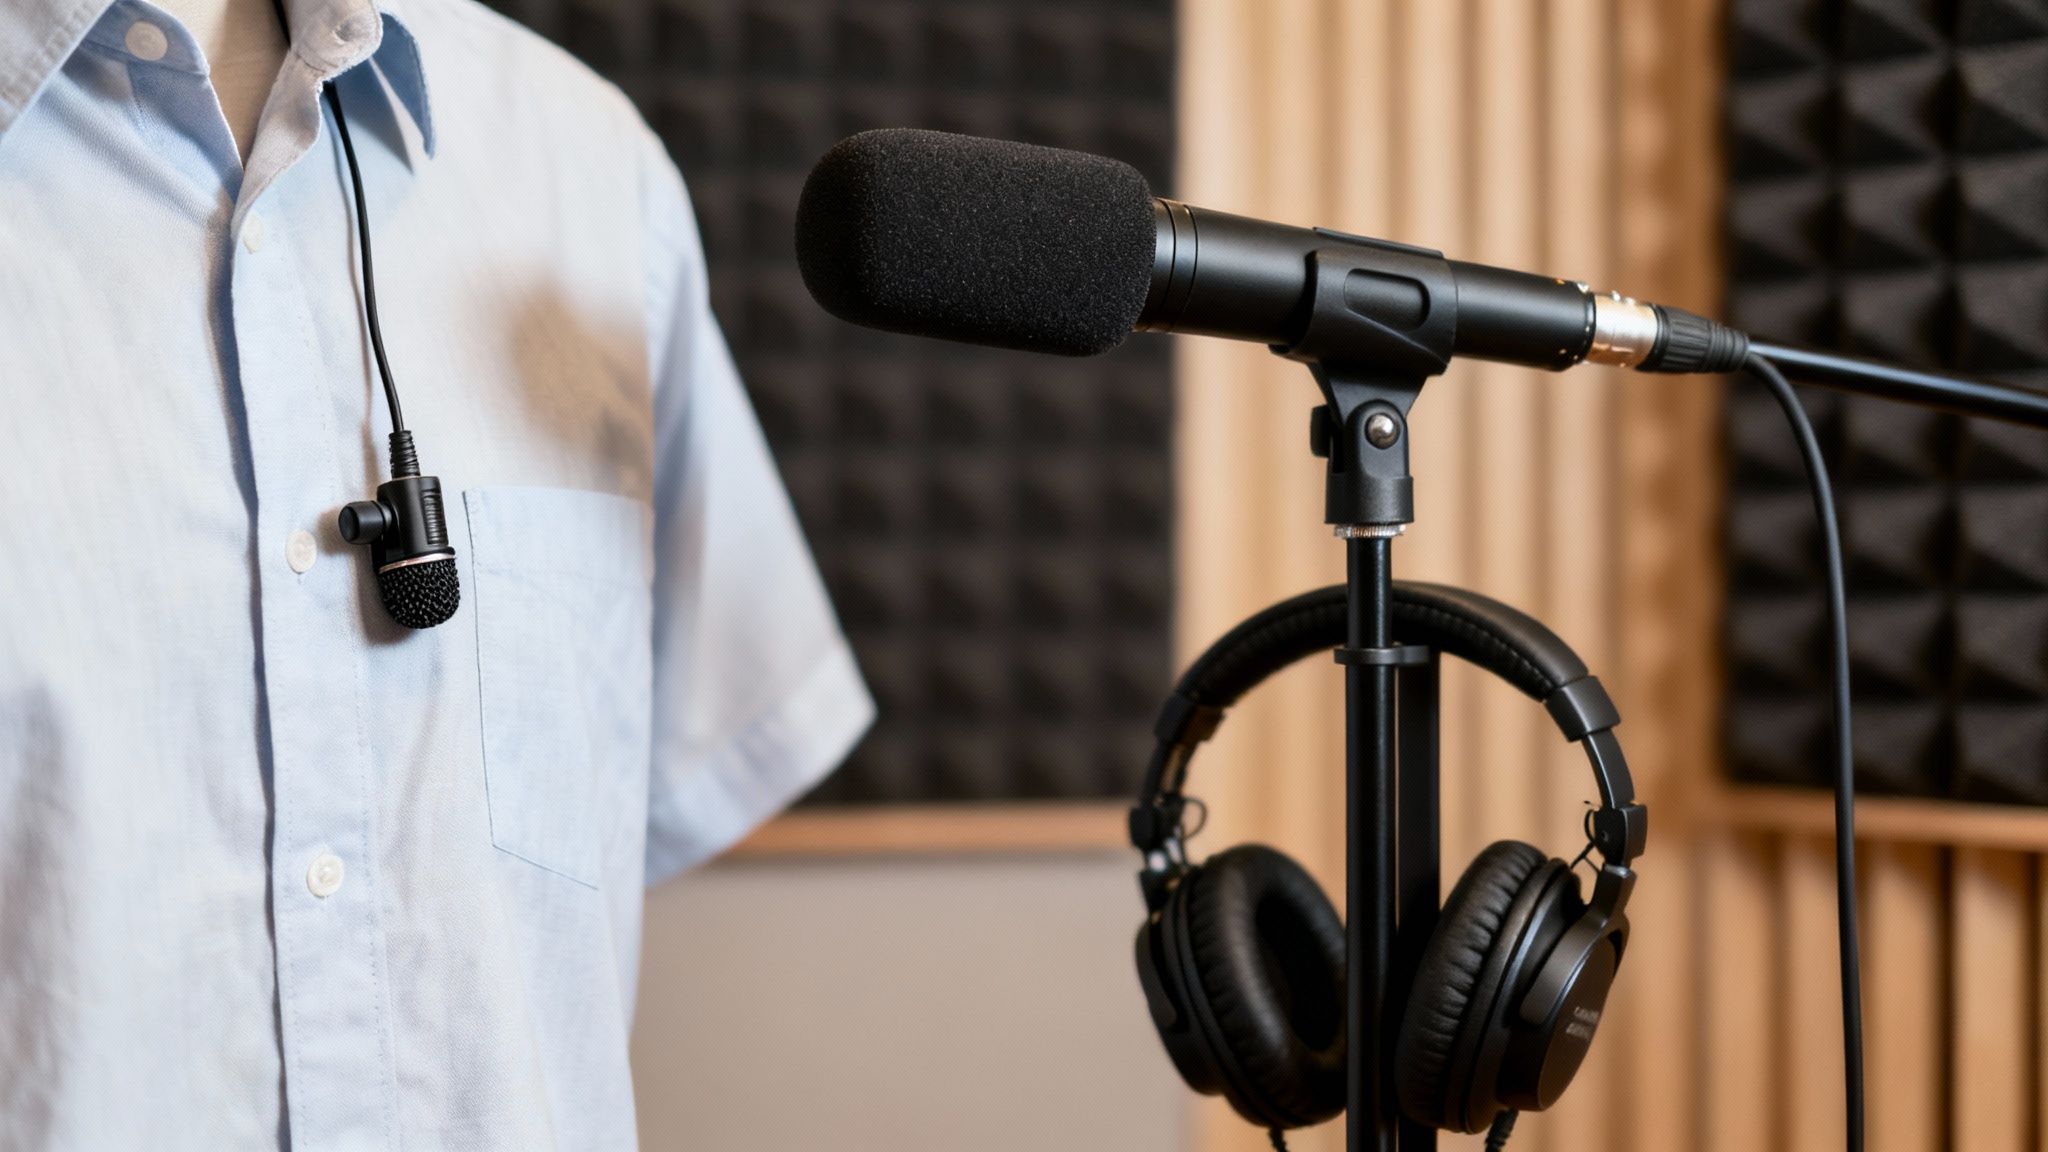
Lavalier Mics (Lavs): These are the tiny microphones you clip onto a shirt. They're fantastic for interviews, tutorials, or any piece-to-camera content. Because they’re just inches from your mouth, they do an incredible job of isolating your voice from distracting background noise.
-
Shotgun Mics: These are the long, directional mics you often see mounted on top of a camera or on a boom pole. They're designed to capture sound primarily from whatever they're pointed at, making them perfect for vlogging, run-and-gun shooting, or grabbing dialogue when you can't mic someone up directly.
-
USB/Condenser Mics: If you're doing voiceovers, podcasts, or streaming from a desk, this is your tool. They deliver that rich, studio-quality sound but are very sensitive. You’ll want to record in a treated space, otherwise, they will pick up every bit of room echo.
Even with the best mic, your environment matters. Try to record in a quiet room with soft surfaces—carpets, curtains, couches, even throwing a few blankets around can work wonders to absorb sound and kill echo. Simple things like closing the windows and turning off your air conditioner make a massive difference.
Setting Levels and Monitoring Your Sound
You’ve got the right gear and a quiet space. The final piece of the puzzle is managing the audio signal itself. Your goal is to record your voice so it’s loud and clear without "clipping," which is that nasty digital distortion that happens when the signal is too hot.
Take a look at the audio meter on your camera or recorder. You want to see your voice consistently peaking between -12dB and -6dB. If it ever hits 0dB and goes into the red, that audio is distorted, and there's usually no saving it in post.
But the single most important habit you can build is to monitor your audio. I mean plugging a pair of headphones directly into your camera or recorder while you are filming. It’s a non-negotiable step.
Headphones are the only way to know exactly what the microphone is hearing. You’ll instantly catch problems your ears might miss—the low hum from a refrigerator, the sound of a lav mic rubbing against a shirt collar, or the subtle whistle of wind. This is what separates the pros from the amateurs. You catch the problem on the spot instead of discovering hours later that your perfect take is unusable.
Turning Good Footage into Great Video with Smart Editing
This is where the magic really happens. You’ve shot everything correctly, but post-production is what separates amateur clips from a polished, professional video. It’s your chance to add that final sheen that makes your content stand out.
Don't let the idea of editing intimidate you. This isn't about fixing huge mistakes in post; it's about enhancing the great footage you already captured. A few key tweaks can guide the viewer's focus, establish a mood, and make every frame look incredibly sharp.
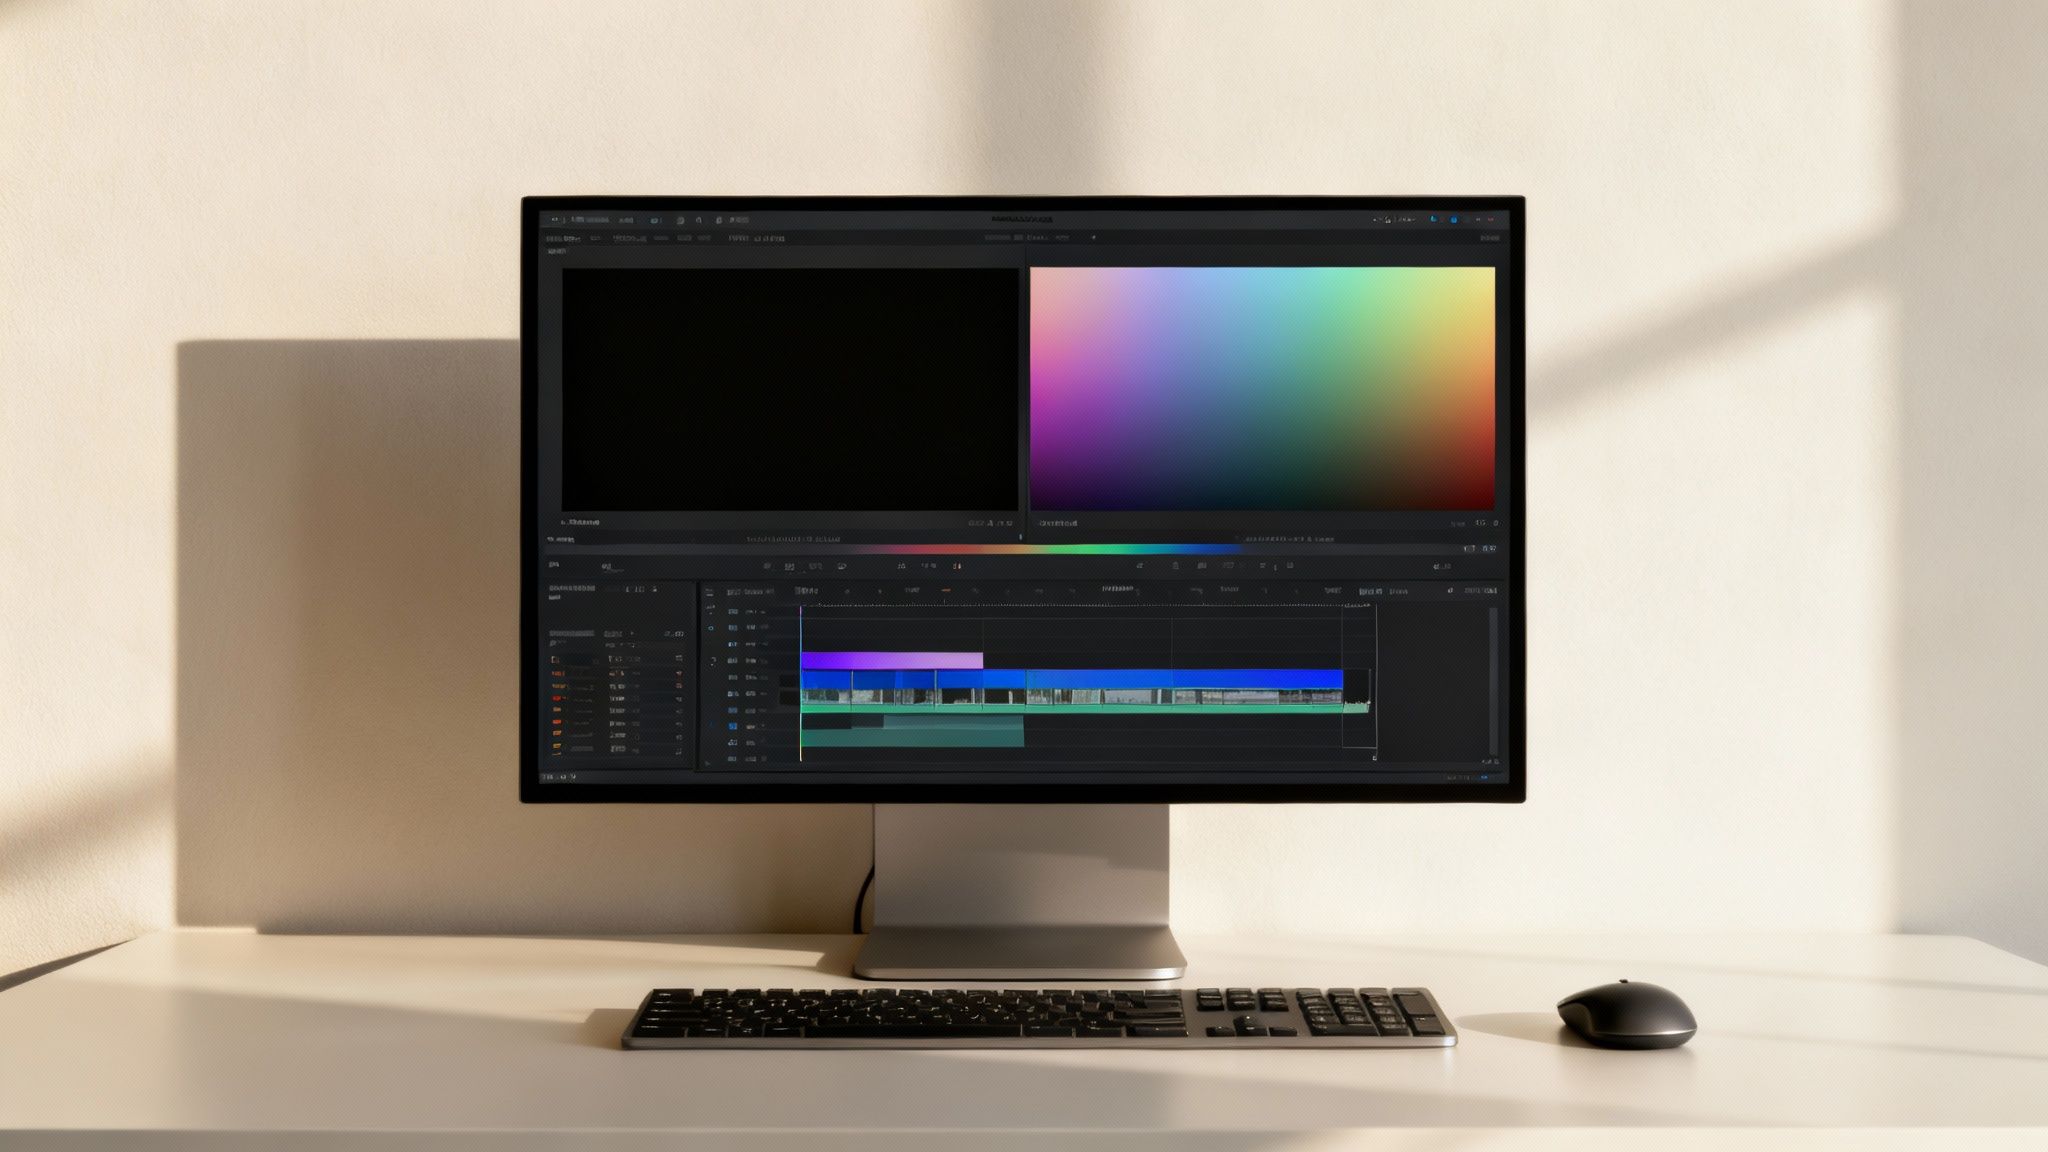
First, Nail Your Color Correction
Before you start getting creative, you need to get the basics right. Think of color correction as the technical, foundational step. The goal here is simple: make the footage look natural, as if you were seeing it with your own eyes. This creates a clean and consistent baseline across all your clips.
Inside your editing software, you'll want to make a few specific adjustments:
- White Balance: Does your shot look a little too orange or a bit too blue? This is a white balance issue. Grab the eyedropper tool in your color panel and click on something in the frame that's supposed to be pure white. You'll see the color cast vanish instantly.
- Exposure: If a clip is a touch too dark or bright, now's the time for a quick fix. Nudge the exposure or brightness sliders just enough to bring the image into a balanced range. Small adjustments are key.
- Contrast: This is how you add depth. Increasing the contrast pushes your whites whiter and your blacks blacker, giving a flat-looking shot that essential "pop."
Once all your clips are corrected, they'll flow together seamlessly. This consistency is a hallmark of professional work.
Set the Mood with Color Grading
With the technical corrections out of the way, you can dive into the fun, artistic part: color grading. This is where you inject your video with a specific feeling or style. Think of the cool, desaturated blues in a gritty detective film or the warm, sunny tones of a travel video.
Color grading is more than just an aesthetic choice—it’s a powerful storytelling tool. It directly influences how your audience connects emotionally with the content.
For instance, a popular cinematic look involves adding a subtle teal tint to the shadows and a touch of orange to the highlights. If you're creating a product video for your Shopify store, you might grade the footage to align perfectly with your brand's color palette. The goal is to be deliberate and maintain that style across the entire video.
Add the Final Polish: Sharpening and Detail
After you’ve dialed in the color, a couple of final touches can push your video's clarity to the next level. The secret here is subtlety. Pushing these effects too far can make your footage look fake and over-processed.
- Sharpening: A little bit of sharpening can make a huge difference, making fine details appear crisper and giving the entire image a higher-definition feel. Most editing tools have a simple "Sharpen" filter. My advice? Start with a very low value and slowly increase it until the details pop without creating unnatural, glowing edges around objects.
- Noise Reduction: Did you have to shoot in a dim environment? You might notice some grainy "noise" in the darker areas of your footage. A noise reduction tool can be a lifesaver. It smooths out those distracting patterns. But just like with sharpening, less is more. Too much noise reduction will make your footage look soft and waxy.
By consistently following this simple workflow—correct, grade, and then refine—you'll see a massive improvement in the quality of your final videos.
Using AI Tools for Next-Level Video Enhancement
Let's be honest, video editing has hit a new gear. AI isn't some far-off idea anymore; it's a real tool that’s saving creators from the tedious, pixel-by-pixel work that used to take hours. Modern AI software can take that old, fuzzy footage you have and blow it up to a sharp 4K, get rid of distracting noise, or smooth out shaky shots with an accuracy that almost feels like magic.
Think about it: you can turn grainy smartphone clips into clean, professional-looking B-roll for a product ad. Or maybe you can finally rescue that one perfect take that was shot in bad lighting. These tools go through your video frame by frame, using smart algorithms to rebuild detail and fix imperfections. It’s a level of polish that simply wasn’t accessible to most people until very recently.
The market for this tech is exploding. We're seeing AI-based video enhancement completely reshape post-production, with the market expected to jump from USD 1,077.7 million to a whopping USD 7,166 million by 2030. That kind of growth tells you just how quickly pros are adopting AI for upscaling, denoising, and color correction. You can dig into the numbers yourself in the full report on the AI video enhancement market.
Common AI Enhancement Workflows
So, how does this actually work in practice? You're not replacing your editing software. Instead, think of these AI tools as specialized plugins or standalone apps you bring in for specific, heavy-duty tasks.
Here are a few situations where I’ve found them invaluable:
- Upscaling Footage: I had a project where the client sent over an old 720p interview clip that absolutely had to be in a new 4K timeline. An AI upscaler analyzed the footage, intelligently added pixels, and sharpened the details just enough to make it look right at home.
- Denoising Low-Light Shots: You know that perfect take you got in a dimly lit room? The one that's full of digital grain? AI can scrub out that noise without smearing the important details, literally saving the shot.
- Stabilizing Handheld Video: If you shot handheld and the footage is a little too jittery, AI stabilization is a game-changer. It’s far more effective than the old warp stabilizers that often left you with weird, jell-o-like distortions in the background.
The real win here is time. AI handles the technical grunt work, which frees you up to focus on what actually matters—the story, the pacing, and the creative side of the edit.
Tools like Topaz Video AI are great examples of this, offering a pretty straightforward interface for some incredibly complex processes.
You can just select the enhancement model you need—like stabilization or frame interpolation—and see a side-by-side preview of the results before you commit to a long render.
Creating New Content with AI
It’s not just about fixing old footage, either. AI is also becoming a creative partner. For anyone running a Shopify store or creating content for TikTok, tools like saro2 are opening up new doors. You can generate completely new, cinematic product videos just by typing a text prompt.
Instead of setting up an expensive and time-consuming shoot, you just describe the scene you want—say, a lifestyle shot of your product on a sunny beach—and the AI brings it to life. This drastically lowers the barrier for producing high-quality, engaging video content, letting you create more, faster.
Optimizing Your Export Settings for Every Platform
You’ve poured hours into getting the lighting just right, capturing clean audio, and perfecting your edit. Now comes the final, crucial step: the export. This is where so much hard work can be undone. It’s a classic story—your video looks incredible in your editing software, but once you upload it, it’s a blurry, pixelated mess.
The culprit is almost always compression. Every single platform, from YouTube to Instagram, re-compresses your video file. They do this to save a massive amount of server space and to make sure viewers with slower connections can still watch smoothly. You can't stop this process, but you can work with it. The trick is to hand over a file so rich with data that it still looks fantastic even after the platform's compression algorithms have had their way with it.
Codecs and Bitrates Explained
Let’s quickly demystify the two most important terms here: codec and bitrate.
Think of a codec (short for coder-decoder) as the language your video is packaged in. The most common one is H.264 (or AVC), which is the universal standard. It works everywhere. The newer kid on the block is H.265 (or HEVC), which is much more efficient—it delivers better quality at a smaller file size. The only catch is that H.265 isn't as universally supported yet, though it's getting there fast.
Bitrate, on the other hand, is all about data density. It's the amount of information allocated to each second of your video. A higher bitrate means more data, which directly translates to more detail, sharper edges, and richer colors. Skimping on the bitrate is the single biggest reason for a quality drop after uploading.
When you export, you're essentially preparing your video for its journey through the platform's compression engine. A high-bitrate file gives that engine more data to work with, resulting in a much cleaner final product for viewers.
This technical backend stuff is a massive part of what makes modern streaming possible. In fact, video processing technologies like encoding and compression are the engine room of the internet, making up over 39.2% of the entire online video platforms market. It’s these systems that let us watch crystal-clear video on any device. You can learn more about these video processing market findings if you're curious about the industry side.
Here’s a practical tip for YouTube: even if your final audience will watch in 1080p, if you edited in 4K, export in 4K. Uploading a 4K file often unlocks YouTube’s more efficient VP9 codec, which provides a noticeable quality bump over the standard AVC1 codec given to most 1080p uploads. For vertical platforms like Instagram or TikTok, matching their recommended 1080p resolution with a generous bitrate is the surest path to clarity.
Recommended Video Export Settings for Popular Platforms
Navigating the specific requirements for each platform can be a headache. To make it easier, here's a quick-reference table with settings that I've found work best for retaining quality after those platforms work their compression magic.
| Setting | YouTube (4K) | Instagram Feed (1080p) | TikTok (1080p) |
|---|---|---|---|
| Codec | H.264 (for compatibility) or H.265 (for quality) | H.264 | H.264 |
| Resolution | 3840 x 2160 (Upload 4K to get VP9 codec) | 1080 x 1350 (4:5) or 1080 x 1920 (9:16) | 1080 x 1920 |
| Frame Rate | Match Source (24, 30, or 60 fps) | 24 - 30 fps | 24 - 30 fps (up to 60) |
| Bitrate (VBR) | 45-65 Mbps | 10-15 Mbps | 10-15 Mbps |
| Audio Codec | AAC | AAC | AAC |
| Audio Bitrate | 320 kbps | 128 kbps | 128 kbps |
Using these as your starting point will give the platform algorithms a high-quality source file to work with, dramatically improving your chances of having a sharp, clean video on the other side. Always remember to test a short clip first if you're trying a new setting
Answering Your Top Video Quality Questions
Let's tackle some of the most common headaches creators face when trying to get their video quality just right. I see these questions pop up all the time, and the answers are usually simpler than you think.
Why Does My Video Look Blurry or Pixelated on Social Media?
This is the big one. You export a crystal-clear video, upload it to Instagram or TikTok, and it suddenly looks like it was filmed on a potato. The culprit is almost always bitrate compression.
Social media platforms have to host millions of videos, so they aggressively compress everything you upload to save server space. If your original file has a low bitrate, you're essentially handing their compression algorithm a file that's already starving for data. The result? A pixelated, blocky mess.
The Fix: Give the platform a high-quality file to work with. For a standard 1080p video, I always recommend exporting with a bitrate of at least 10-15 Mbps. This gives the platform's compression algorithm more data to chew on, which leads to a much cleaner final product after it's been processed.
How Can I Rescue Grainy Low-Light Footage?
We've all been there. You're shooting in a dark environment, you crank up the ISO to get a usable exposure, and now your footage is covered in a layer of distracting digital "grain" or noise.
While the best fix is always to get more light on your subject during the shoot, you're not out of luck if you have to salvage it later. In post-production, you can use a noise reduction filter. Most editing software like Premiere Pro or DaVinci Resolve has a built-in tool for this.
A word of caution, though: a little goes a long way. If you push the noise reduction too hard, you'll end up with a waxy, unnatural look that can be even more distracting than the original grain. Apply it gently until the noise is less noticeable, not completely gone.