free text to video ai: Create Stunning Clips in Minutes
Discover how free text to video ai turns ideas into stunning clips with practical prompting, editing tips, and fast workflows.
Absolutely. You can create some seriously compelling videos from just a few words using free text-to-video AI tools. These are fantastic for getting your feet wet, letting you generate short, unique clips for social media, storyboards, or just to visualize a concept without spending a dime.
What to Expect from Free AI Video Tools
Let's get one thing straight: free text-to-video AI is amazing, but it has its quirks. The technology is moving at a breakneck pace, but the free versions always have some trade-offs. Knowing what these are ahead of time will save you a lot of headaches and help you get creative within those boundaries.
So, how does it even work? You type in a prompt, and the AI—usually a complex system called a diffusion model—goes to work. It figures out the relationships between the words you used (like subjects, actions, and artistic styles) and then translates that understanding into a series of images that become your video clip. It's a fascinating blend of art and data that brings your text to life.
Common Limitations of Free Generators
When you're working with a free text-to-video AI, you're going to run into a few common walls. It’s just part of the game.
- Watermarks: Nearly every free tool will slap its logo on your final video. It’s their way of nudging you toward a paid plan if you want to use the clips professionally.
- Resolution Limits: You won't be getting stunning 4K footage from a free generator. Expect resolutions to be capped around 480p or 720p. That’s perfectly fine for a quick social media post but won't look great on a big screen.
- Clip Length Restrictions: Free clips are short. Really short. We're talking 3-5 seconds most of the time. If you want to tell a longer story, you’ll need to generate a bunch of these tiny clips and piece them together yourself.
Think of free AI video tools as a sketchbook for your ideas. The key is to embrace the limitations and use them as a creative challenge, not a roadblock.
The Growing Demand for AI Video
This isn't just a niche hobby; the interest in AI video is exploding. The global Text-to-Video AI market was valued at around USD 256.5 million back in 2022. By 2032, it's projected to hit a staggering USD 2,479.7 million.
That massive jump shows just how much businesses in marketing, e-commerce, and social media are hungry for faster, more efficient ways to create video. You can dig into the numbers yourself with these market growth projections and trends.
Key Features of Free vs Paid Text-to-Video AI Tools
Deciding between free and paid tools often comes down to your project's needs. This table breaks down the typical differences to help you see where the value lies in upgrading.
| Feature | Free Tools (Typical Offering) | Paid Tools (Typical Offering) |
|---|---|---|
| Watermarks | Always present on final videos. | Removable, clean output. |
| Video Resolution | Capped at standard definition (480p/720p). | High-definition (1080p, 4K) available. |
| Clip Length | Very short (e.g., 3-5 seconds per clip). | Longer generation times (e.g., 16+ seconds). |
| Generation Credits | Limited daily or one-time credits. | Monthly/annual subscription with more credits. |
| Feature Access | Basic model and limited style options. | Advanced models, fine-tuning, exclusive styles. |
| Commercial Use | Often restricted or not allowed. | Full commercial license included. |
Ultimately, free tools are perfect for experimentation and small-scale projects. But once you need professional quality, longer clips, and commercial rights, a paid plan becomes a worthwhile investment.
Your First AI Video Generation Workflow
Ready to dive into the world of free text-to-video AI? You'll be surprised how easy it is to get started. I tell most beginners to head over to a place like Hugging Face. It’s a huge hub for open-source AI models, and the best part is you can test many of them right in your browser. No coding, no complicated setup—just you and the AI.
When you land on a model's page (what they call a "Space"), you'll find a pretty simple layout. There's a box for your prompt, a few sliders to tweak the output, and a big 'ol "generate" button. It’s all designed to get you from idea to video in just a few minutes.
Getting a Handle on the Key Settings
Before you smash that generate button, let's talk about the controls. Every model is a little different, but you'll almost always see these three options. They're the most important ones for shaping your final clip.
- Aspect Ratio: This is just the video's shape. Think 9:16 for anything vertical like TikTok or Reels. If you're going for a classic YouTube or cinematic look, you'll want 16:9.
- Motion Intensity: I love this slider. It controls the amount of oomph in your video. Keep it low, and you get a gentle, almost dreamlike drift. Crank it up, and you can get some seriously dramatic action sequences. My advice? Start low and slowly nudge it up as you get a feel for it.
- Frames Per Second (FPS): This is all about smoothness. A higher FPS, like 24 or 30, gives you that fluid motion we're used to seeing in videos. A lower FPS can look choppy, which can be a cool stylistic choice if you're going for a stop-motion vibe.
My Two Cents: Don't let all the sliders and options intimidate you. For your first couple of tries, just focus on writing a good prompt and picking the right aspect ratio. You can figure out what everything else does by playing with one setting at a time. It’s the best way to learn.
This whole process is surprisingly straightforward. You give the AI your words, and its core engine—the diffusion model—translates that text into a moving picture.
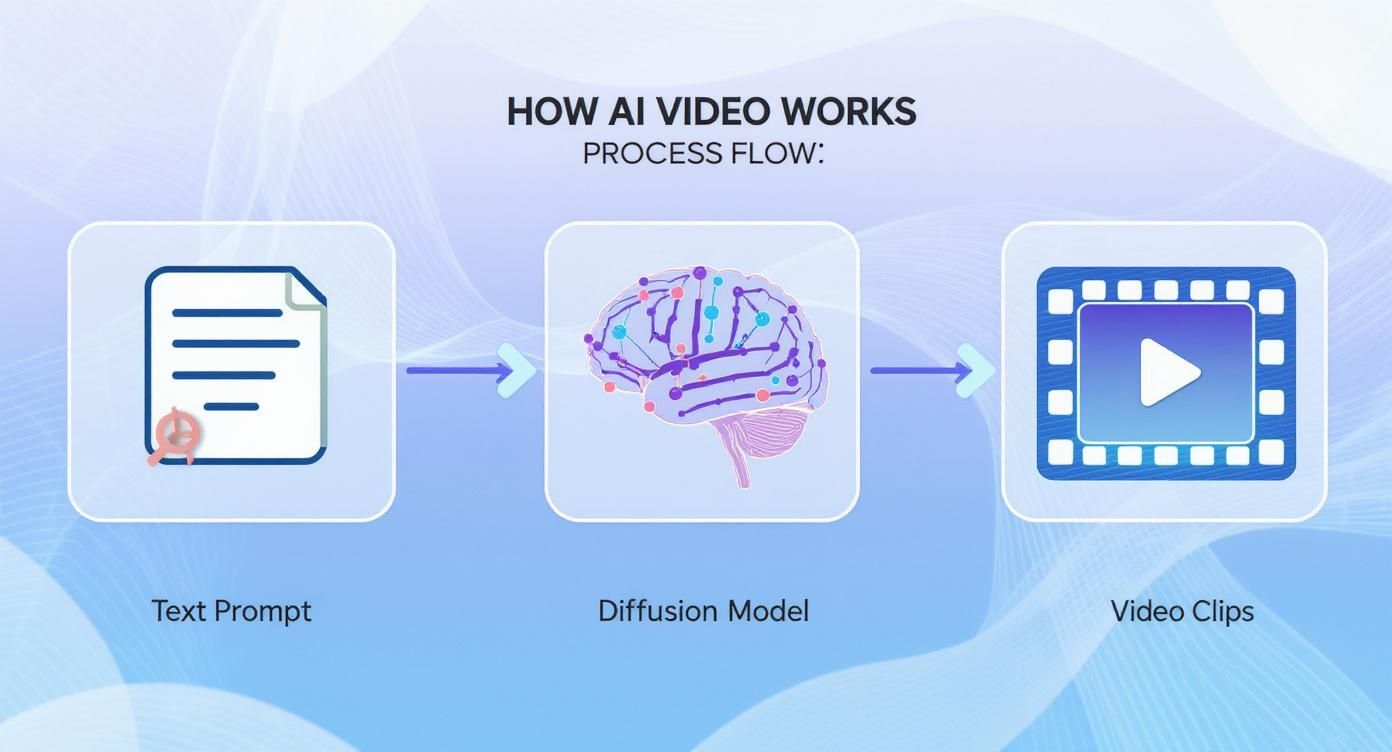
Think of the "diffusion model" as the creative brain doing all the heavy lifting, turning your description into pixels and motion.
Let's Generate Your First Clip
Time to make something! Let's start with a classic prompt. In the text box, type this: "A golden retriever puppy chasing a red ball across a sunny lawn, cinematic style."
Now, set the aspect ratio to 16:9 and just leave everything else on the default settings. Go ahead and click generate.
You'll have to wait a minute or two while the AI works its magic, especially if the server is busy. You'll see a progress bar creep across the screen, and then—bam! Your first AI-generated video appears. If you're curious about what's happening behind the scenes, our guide on how to make AI videos breaks down the process even further.
Don't panic if it looks a little... weird. That's totally normal. You might see some strange warping or odd artifacts. The free models aren't perfect, and that’s okay. The point of this first run is just to get a feel for the process. Now you can go back, tweak your prompt, adjust the motion, and really start to see how your changes bring your ideas to life.
Writing Prompts That Create Better Videos
When it comes to getting a great result from any text-to-video AI, it all boils down to one thing: your prompt. Think of it this way: a simple command gets you a simple video. But a well-crafted prompt? That's a director's shot list, a cinematographer's brief, and a set designer's mood board all rolled into one. Learning to "speak the AI's language" is hands-down the most important skill you can develop.
I like to think of the AI model as an incredibly talented artist who is also extremely literal. It will only create exactly what you ask for, so specificity is your best friend. Vague prompts almost always lead to generic, and sometimes just plain weird, results. The more detail you feed it, the closer the final video will be to what you pictured in your head.
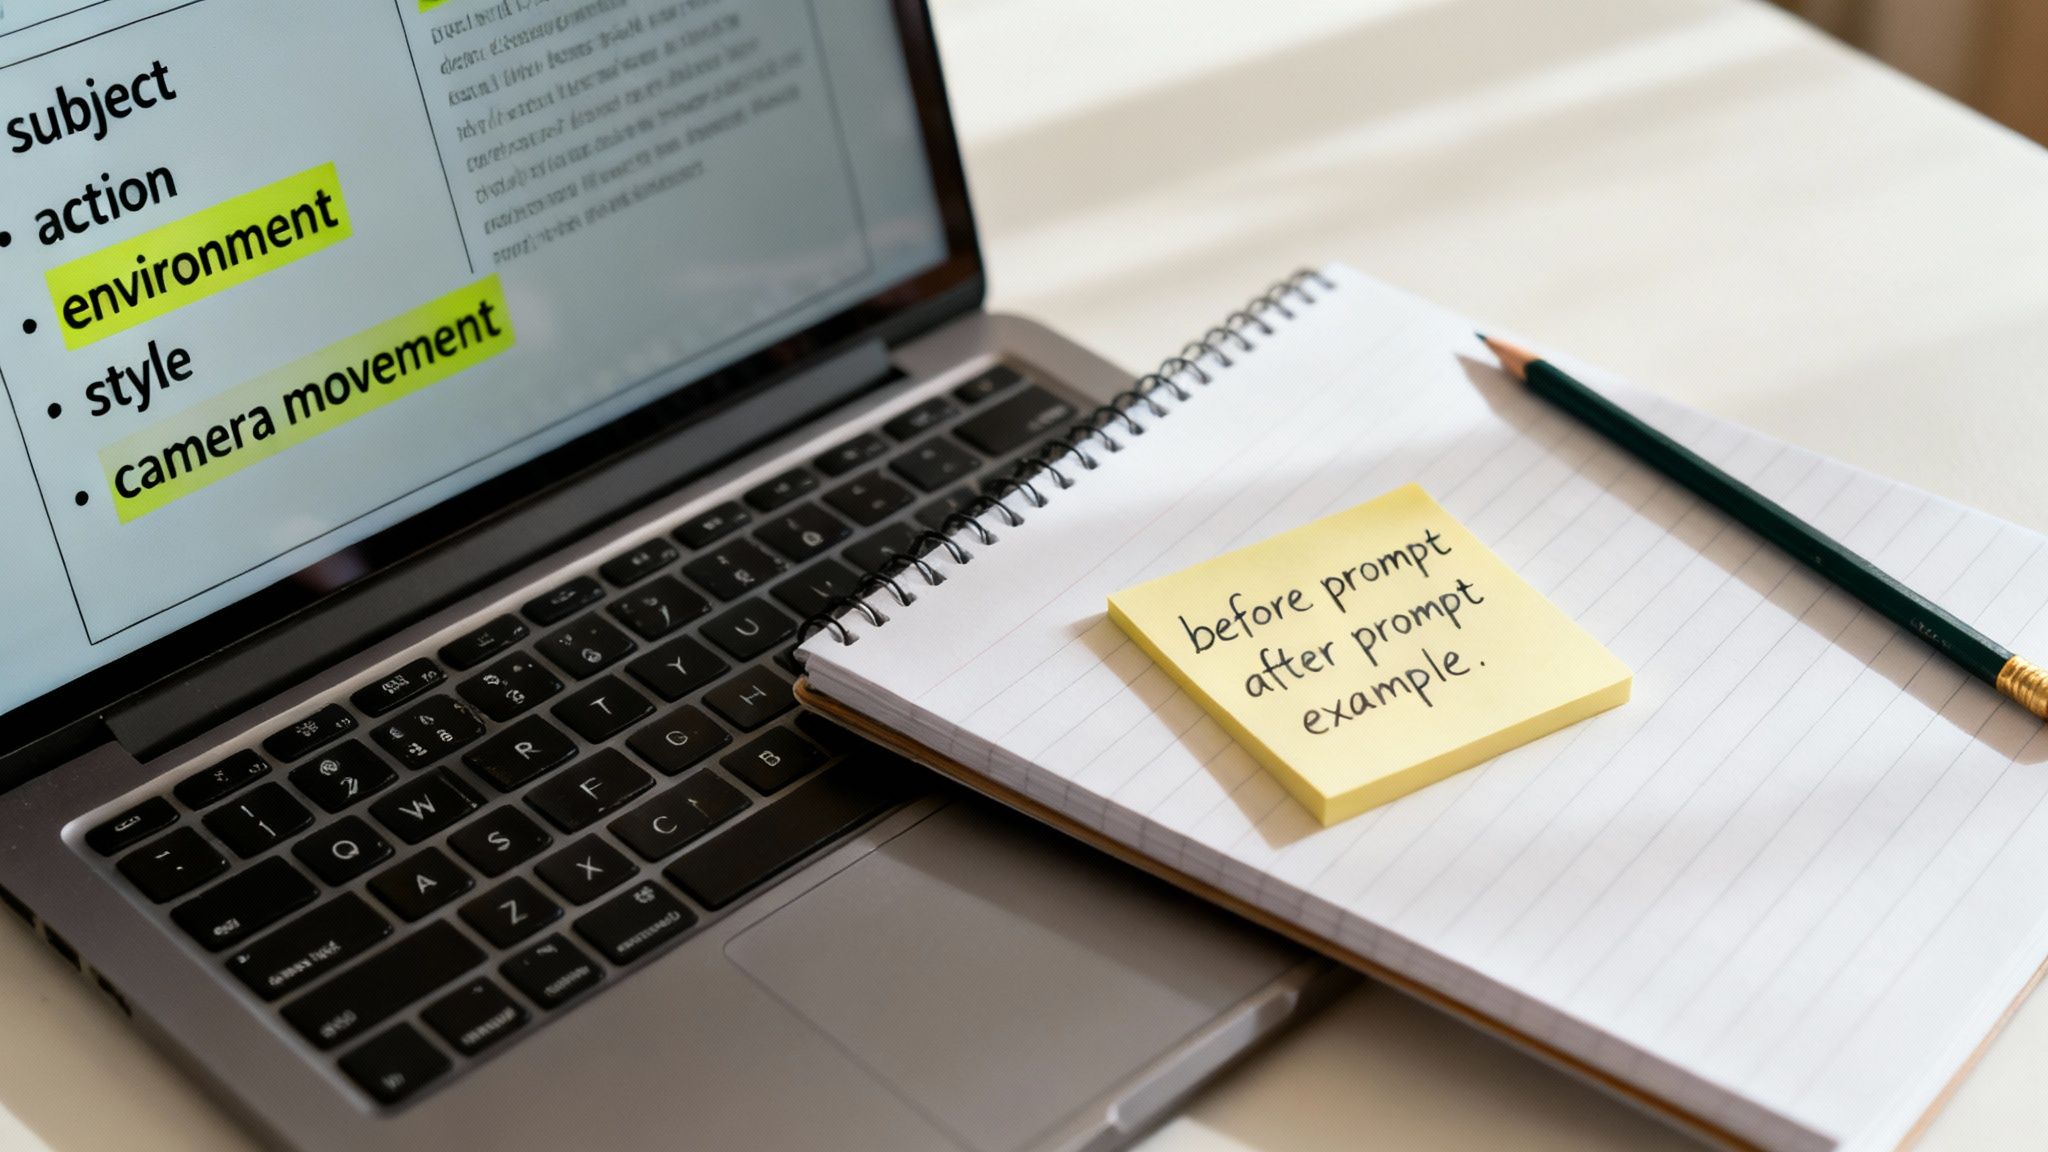
The Anatomy of a Perfect Video Prompt
A truly effective prompt isn't just a sentence—it's more like a recipe with a few key ingredients. When you combine these elements, you’re giving the AI a clear blueprint, which massively increases the odds of getting a fantastic result on the first try.
Here’s the breakdown I use:
- The Subject: Who or what is the star of your clip? Get descriptive. Don't just say "a dog"; try "a fluffy corgi with a happy, goofy expression."
- The Action: What's happening? The more vivid your verb, the better. Instead of "running," go for "joyfully sprinting through a field."
- The Environment: Where is all this going down? Set the scene. "Outside" is boring. "A field of tall wildflowers during a golden hour sunset" paints a picture.
- The Artistic Style: This is where you set the vibe. Are you going for photorealism, animation, or something more abstract? Think in terms of "anime aesthetic, watercolor painting, vaporwave, 35mm film."
- The Camera Shot: How do you want to frame the scene? This is what makes a clip feel cinematic. Use real camera terms like "wide angle shot, close-up, drone shot following from above, panning shot."
Putting it all together takes you from a weak prompt to one with some real creative muscle.
Weak Prompt: A man walking in the rain.
Strong Prompt: A silhouette of a man holding a bright red umbrella, walking down a neon-lit Tokyo street at night, puddles reflecting the glowing signs, cinematic lighting, wide angle shot.
The difference in output between those two prompts is staggering. The second one gives the AI a rich world to build from, and you end up with something far more compelling.
Advanced Prompting Techniques
Once you get the hang of the basics, you can start playing with more advanced tricks to really dial in your videos. My favorite is negative prompting. This is where you tell the AI what you don't want to see, which is a lifesaver for cleaning up common AI quirks like mangled hands or distorted faces.
For instance, you could tack on --no deformed hands, blurry face, watermark to the end of your prompt to tell the model to actively avoid those elements.
This whole field has exploded, building on breakthroughs in deep learning. Early open-source models like China's CogVideo, which launched back in 2022 with a massive 9.4 billion parameters, really paved the way. Giants like Meta and Google jumped in soon after, pushing the tech to understand text better and generate more coherent video. If you're curious, you can get a good overview of the history and development of text-to-video models.
And if you want to speed up the process even more, checking out pre-built structures can be a huge help. Our guide on Sora 2 video templates is a great place to find inspiration for your own prompts.
Assembling Your AI Clips into a Story
A single, strange AI-generated clip is a fun experiment. But the real magic happens when you learn how to string those short moments together to tell an actual story. This is the leap from just playing with a novelty to actually creating compelling content.
The process starts before you even think about writing a prompt. You need to put on your director’s hat and sketch out a simple storyboard. It doesn’t need to be fancy—a few bullet points outlining the sequence is all you need.
Let's imagine you're making a short promotional clip about coffee:
- Clip 1: A tight, close-up shot of dark roasted coffee beans tumbling in slow motion.
- Clip 2: Steam gently rising from a freshly poured cup of black coffee, sitting on a rustic wooden table.
- Clip 3: Someone's hands, with cozy sweater sleeves just in frame, lifting the coffee cup.
With a simple plan like this, you have a clear roadmap for generating your clips.
Maintaining Consistency Across Clips
The next big hurdle is making these separate clips feel like they belong in the same video. Consistency is everything, and you can bake it right into your prompts. The trick is to reuse specific stylistic keywords and descriptive elements for every single clip you generate.
Let's go back to our coffee example. To get a consistent look and feel, you’d append the same style guide to each prompt: "...cinematic lighting, warm tones, shallow depth of field, 35mm film aesthetic." By repeating this artistic DNA, you're essentially telling the AI to create a family of clips that share a similar mood and visual texture. This makes them worlds easier to edit together later on.
The secret to a good AI-generated sequence is treating your prompts like a series. Each one builds on the last, sharing a common set of stylistic rules to create a unified world, even if the subject of each clip is different.
While this technique is great for style, keeping a character consistent is a much tougher challenge with free tools. For more complex narrative work where you need the same person doing different things, you'll eventually bump up against the limits of these models. Exploring something like a multi-scene storyboard generator can show you how more advanced platforms are built to handle this very problem.
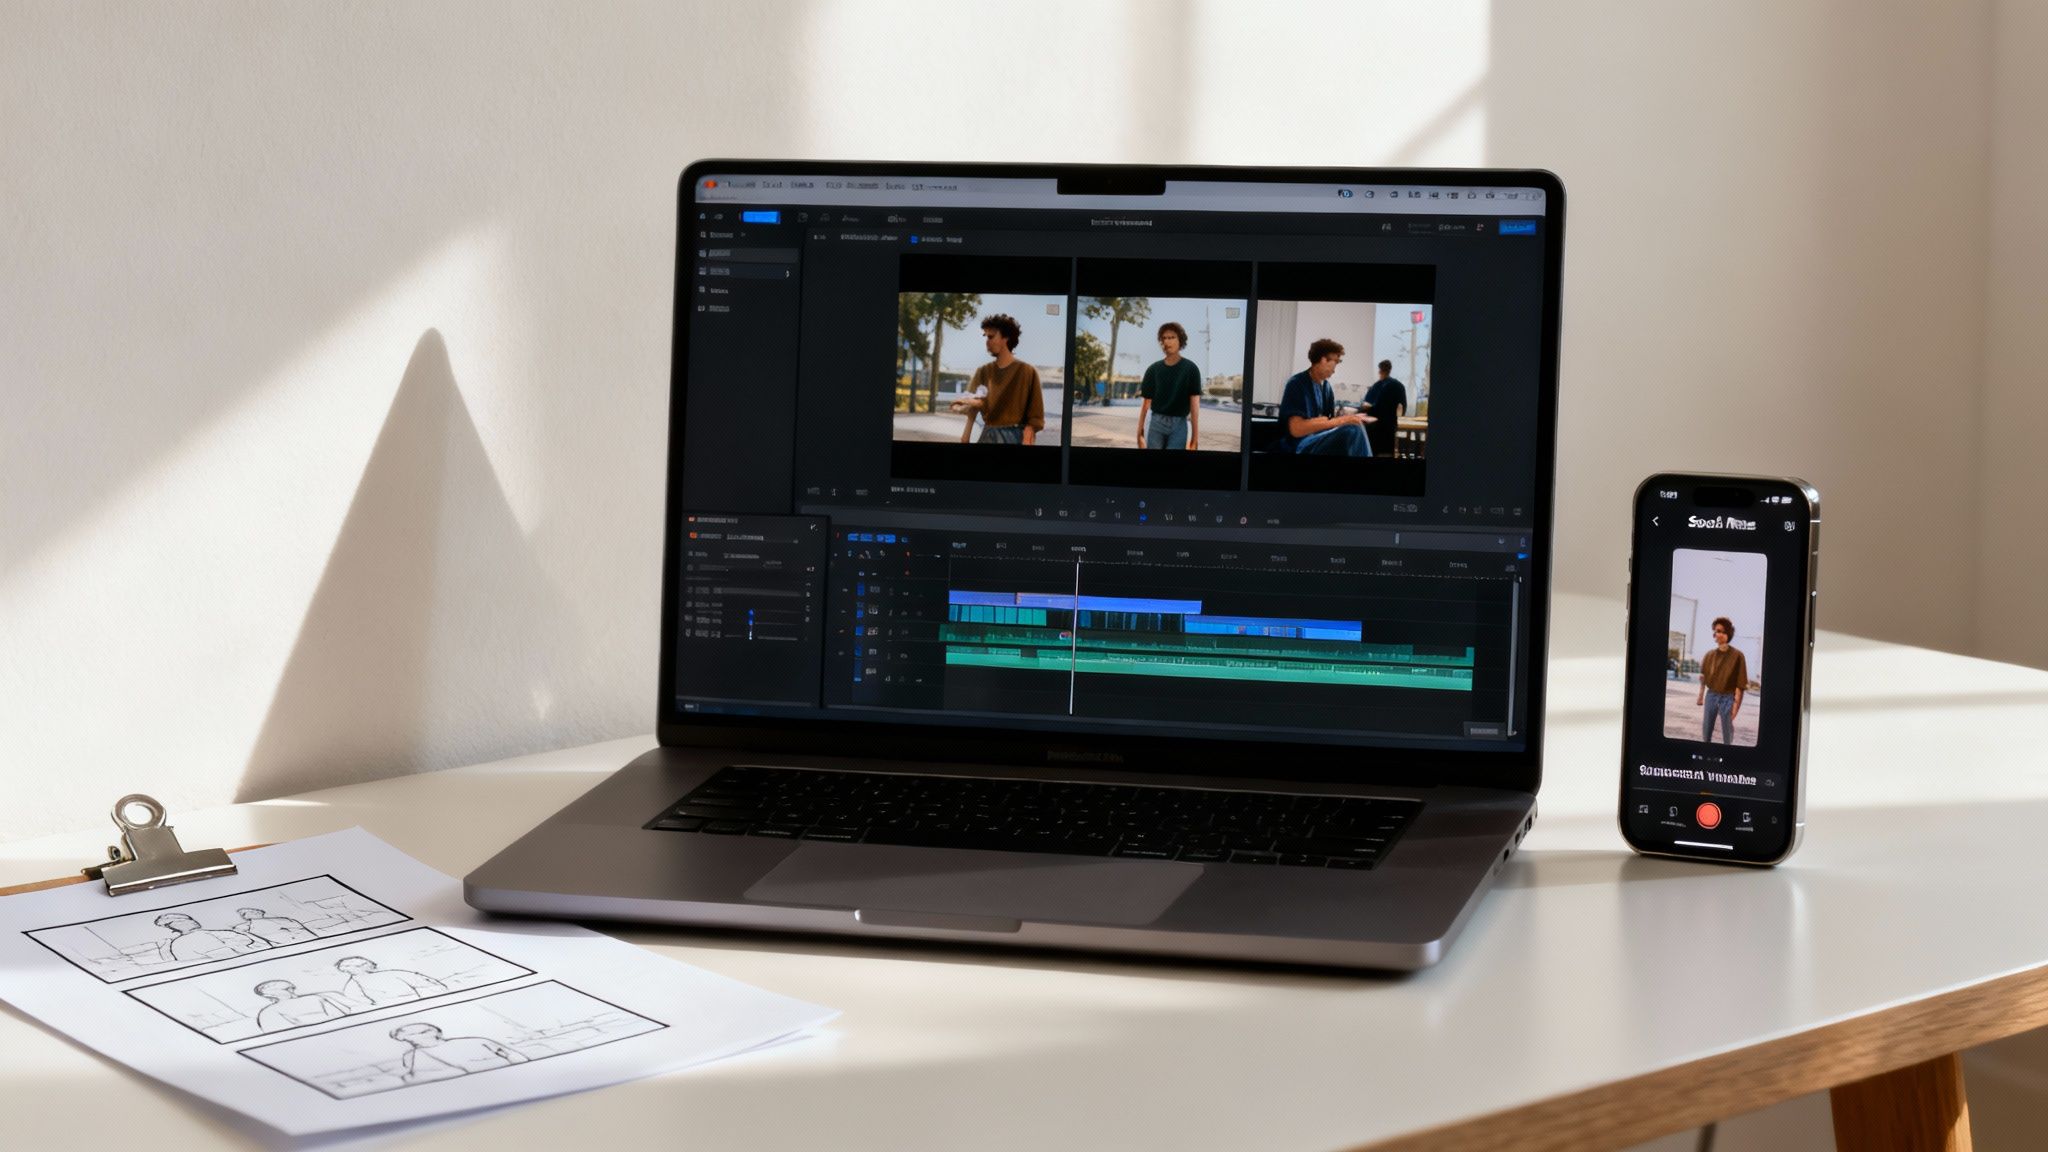
From Clips to a Polished Video
Once you have your handful of AI clips (watermarks and all), it's time for the fun part: bringing them into a video editor. You don't need to shell out for expensive software; some of the best tools for this job are completely free and surprisingly powerful.
- CapCut: This is my go-to recommendation for beginners. It's super intuitive, works on both desktop and mobile, and is packed with features tailor-made for social media, like auto-captions and trending effects.
- DaVinci Resolve: This is the real deal—a professional-grade editor used on Hollywood films. The free version is more than powerful enough for any project you can dream up. It has a steeper learning curve, for sure, but the control it gives you over color grading and effects is incredible.
Your editing workflow can be pretty straightforward. First, dump all your clips into the editor and arrange them on the timeline to match your storyboard. Trim the beginning and end of each one to isolate the best part of the action.
Next, you’ll want to smooth out the cuts between clips with simple transitions, like a crossfade. Then, find some good royalty-free background music from a site like Pixabay or the YouTube Audio Library to set the mood. Finally, add any text overlays you need for context or a call-to-action. In just a few minutes, you can transform a collection of disjointed AI clips into a finished video, ready for TikTok, Instagram Reels, or YouTube Shorts.
Time for the Big Leagues? Knowing When to Upgrade
Free text-to-video tools are fantastic playgrounds. I've used them for countless experiments, quick social media clips, and just for getting a feel for what's possible. But there comes a point in every creator's journey where the limitations of the free tier start to feel less like a fun challenge and more like a creative straitjacket.
Recognizing that moment is crucial. It’s when you realize you're spending more time fighting the tool's restrictions than bringing your vision to life.
The Tell-Tale Signs You’ve Outgrown Free Tools
The shift from free to paid usually isn't a sudden decision; it’s a gradual realization that your ambition has outpaced the tool's capabilities. For me, the first big sign was a client project. A watermarked, 720p clip just wasn't going to fly. That's when I knew I had to level up.
You're probably ready for an upgrade if you find yourself constantly needing:
- Flawless, High-Resolution Video: Are you creating for a client, your business website, or a monetized YouTube channel? If so, crisp 1080p or 4K output isn't a luxury; it's a requirement.
- A Clean, Unbranded Look: Watermarks scream "hobby project." For any professional or commercial work, you absolutely need watermark-free videos to maintain brand integrity.
- More Than Just a Few Seconds: Free tools are great for 3-5 second snippets. But to tell a real story, you'll need the ability to generate longer scenes—think 10-16 seconds or more—which is a classic premium feature.
- Consistent Characters: Trying to create a narrative with a recurring character? You’ll quickly discover that free models struggle to keep a character looking the same from shot to shot. Paid platforms offer the advanced controls needed for this.
Honestly, the decision to upgrade is less about the tech and more about your goals. When your projects get serious, investing in a professional tool stops being an expense and becomes a smart business move.
The Market Doesn't Lie
This isn't just a niche problem; the demand for high-quality, AI-driven video is exploding. The text-to-video AI market is on track to blow past USD 400 million by 2025, a huge leap from USD 310 million in 2024.
What's driving this? Businesses and creators like us need better, faster ways to make video that actually gets results. You can read more about the factors fueling this market growth if you're curious.
Here's the bottom line: when the hours you spend trying to work around the limitations of a free text to video AI tool start costing you more in time and frustration than a monthly subscription, you have your answer. It's time to upgrade.
Got Questions? Let's Talk About Free AI Video Tools
Jumping into free text-to-video AI is exciting, but it definitely comes with a few head-scratchers. The tech is evolving fast, and the "rules" aren't always clear. Let's tackle some of the most common questions and roadblocks you'll probably hit along the way.
The big one is always about commercial use. Can you actually use these videos for your business? The answer is buried in the terms and conditions. Many free tools are strictly for personal, non-commercial projects. If you plan on using a clip for a marketing ad or a monetized YouTube channel, you absolutely must read the licensing agreement. Some open-source models offer more freedom, but you have to check first. Don't risk it.
What to Do When Your AI Video Looks… Weird
Don't be surprised if your first few creations are a little bit funky. Distorted faces, melting objects, and shaky, jittery motion are classic signs of a free AI model at work. It's a common problem that happens when the AI struggles to keep things consistent from one frame to the next.
If you're getting bizarre results, here are a few things I've found that help:
- Keep it simple. A less complex prompt gives the AI fewer details to mess up.
- Dial down the motion. If the tool has a "motion" or "activity" slider, turn it down. Less movement often means less warping.
- Use negative prompts. Adding terms like "deformed, blurry, mutated, ugly" can tell the AI exactly what you don't want to see.
The real challenge—and the holy grail of AI video—is getting the same character to appear consistently across different scenes. With free tools, your best shot is to be obsessively descriptive. Write down your character details and paste the exact same description into every single prompt in your storyboard.
Staying Safe and Smart
A quick word on safety and best practices. When you're playing with any online free text to video ai generator, be smart about what you type. Never, ever input sensitive or personal information into your prompts.
Also, remember that many of these free platforms use your creations to train their models. It’s always a good idea to skim the privacy policy of any new tool before you get started. My advice? Stick with the well-known, reputable platforms to keep your ideas and data safe while you experiment.
Ready to leave the limitations of free tools behind? When you need cinematic quality, consistent characters, and zero watermarks, it’s time to step up. saro2 lets you build professional, multi-scene video stories without the usual AI headaches. Start creating without restrictions.
Article created using Outrank